Apex Legends: Welcome to Broken Moon
Venture on and learn more about the brand new map launching with Eclipse on November 1st.
BROKEN MOON IS ON THE HORIZON!
Hello, I’m Randolph Stayer, Principal Level Designer on Broken Moon, the fifth map for Apex Legends™.
Broken Moon is a terraforming project commissioned by the Cleo Recovery Council, as a result of the catastrophic meteor impact that occurred in 2708. With the help of the Boreas Science Division, the moon became a habitable environment by 2715. To further fund colonization, the government entered into a contract with the Syndicate to bring the Apex Games to the moon. Broken Moon is similar in size to World’s Edge and features a wide array of terrain: both extra-terrestrial and borderline familiar. Locations range from glamorous gardens, to a gigantic terraforming machine, to a filthy wharf. Let’s look at the location breakdown.
ZIP RAILS
A fast, predictable way to get from one location to another and effectively outrun the ring, these rails are set up along predetermined paths to quickly move from one POI to the next. Players can get through some particularly challenging rotations and even move within points of some of the larger landmarks. While riding the rails you have all the same functions available to you as a zip line—but with increased speed and momentum.
POINTS OF INTEREST
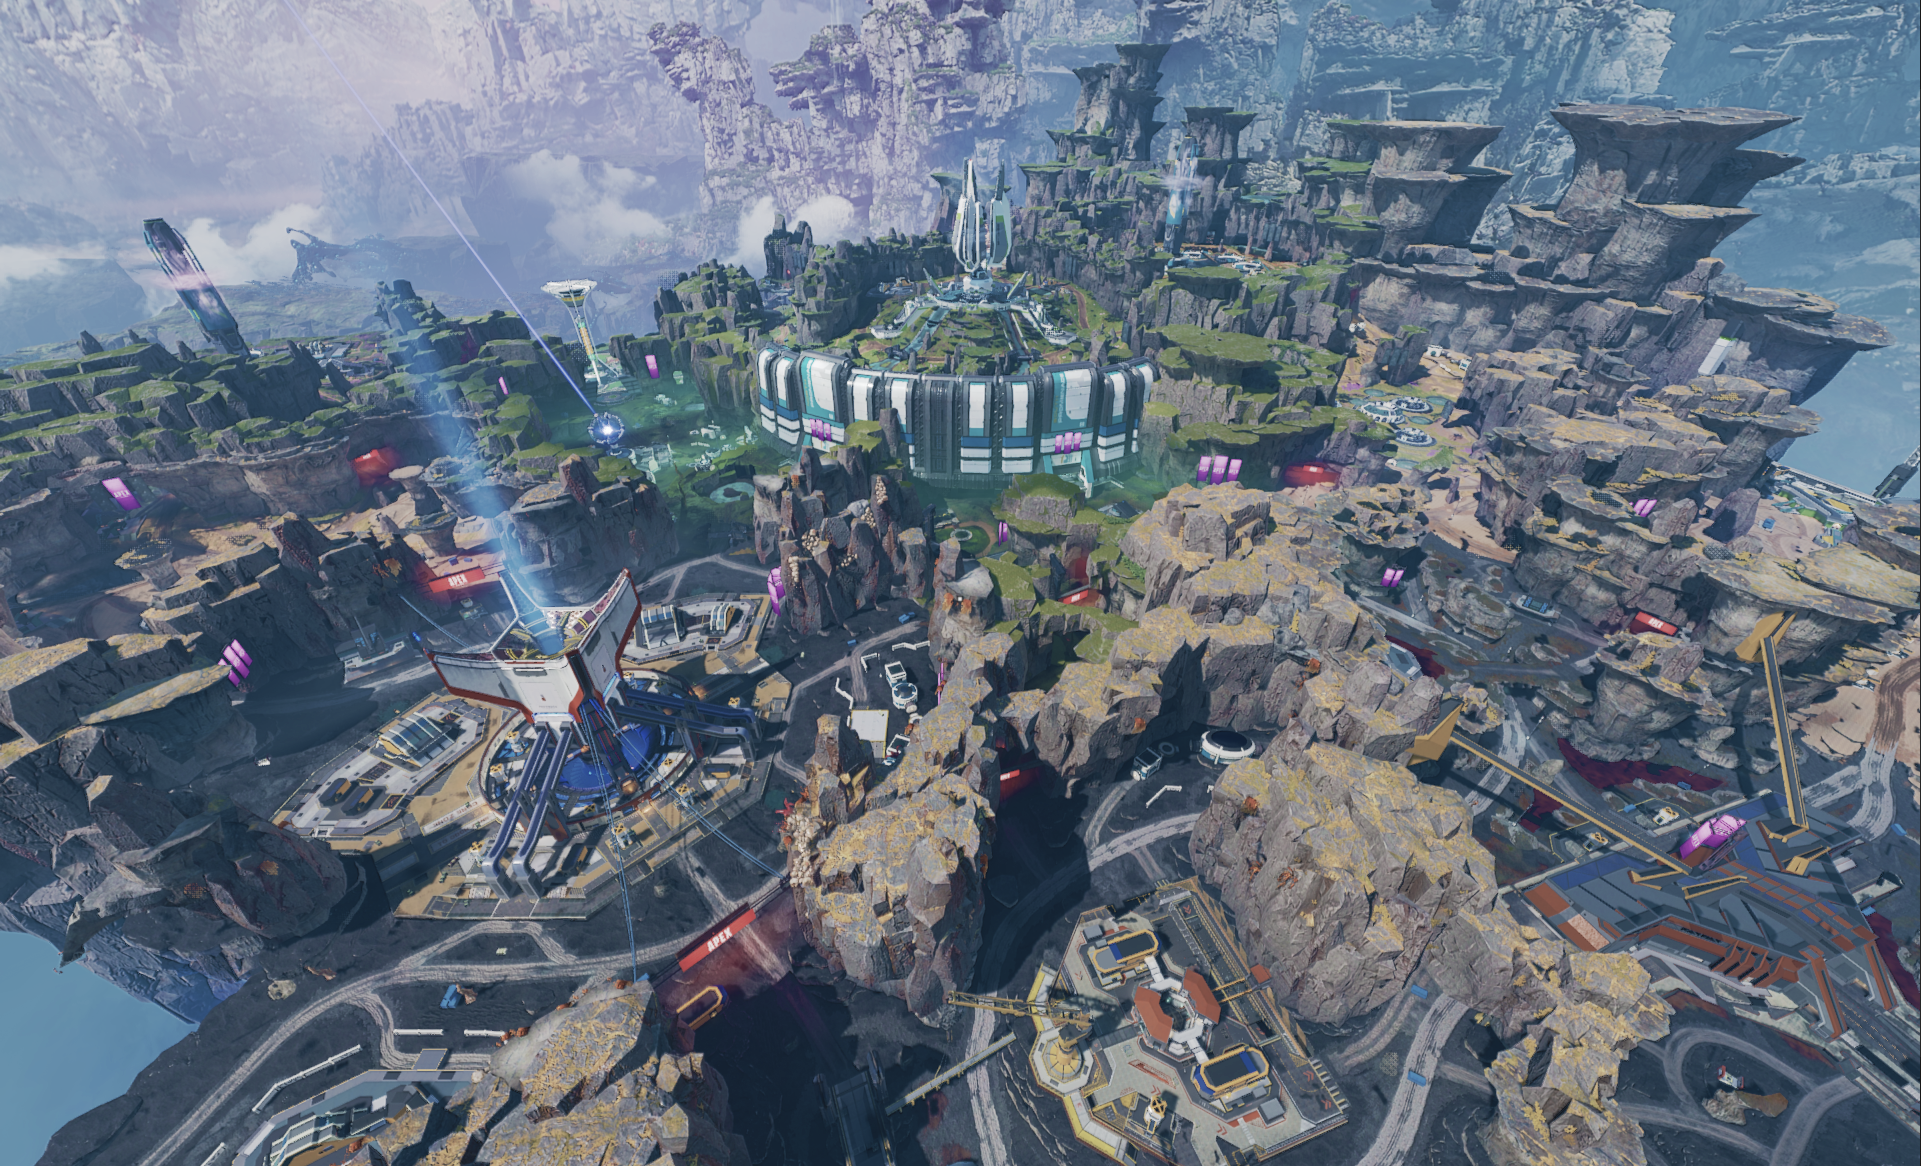
The moon is packed with large POIs that offer comfortable landing spots for multiple squads, allowing time to loot before the first shots are fired. Zip Rails also offer an effective means of closing the gap quickly or escaping a risky situation.
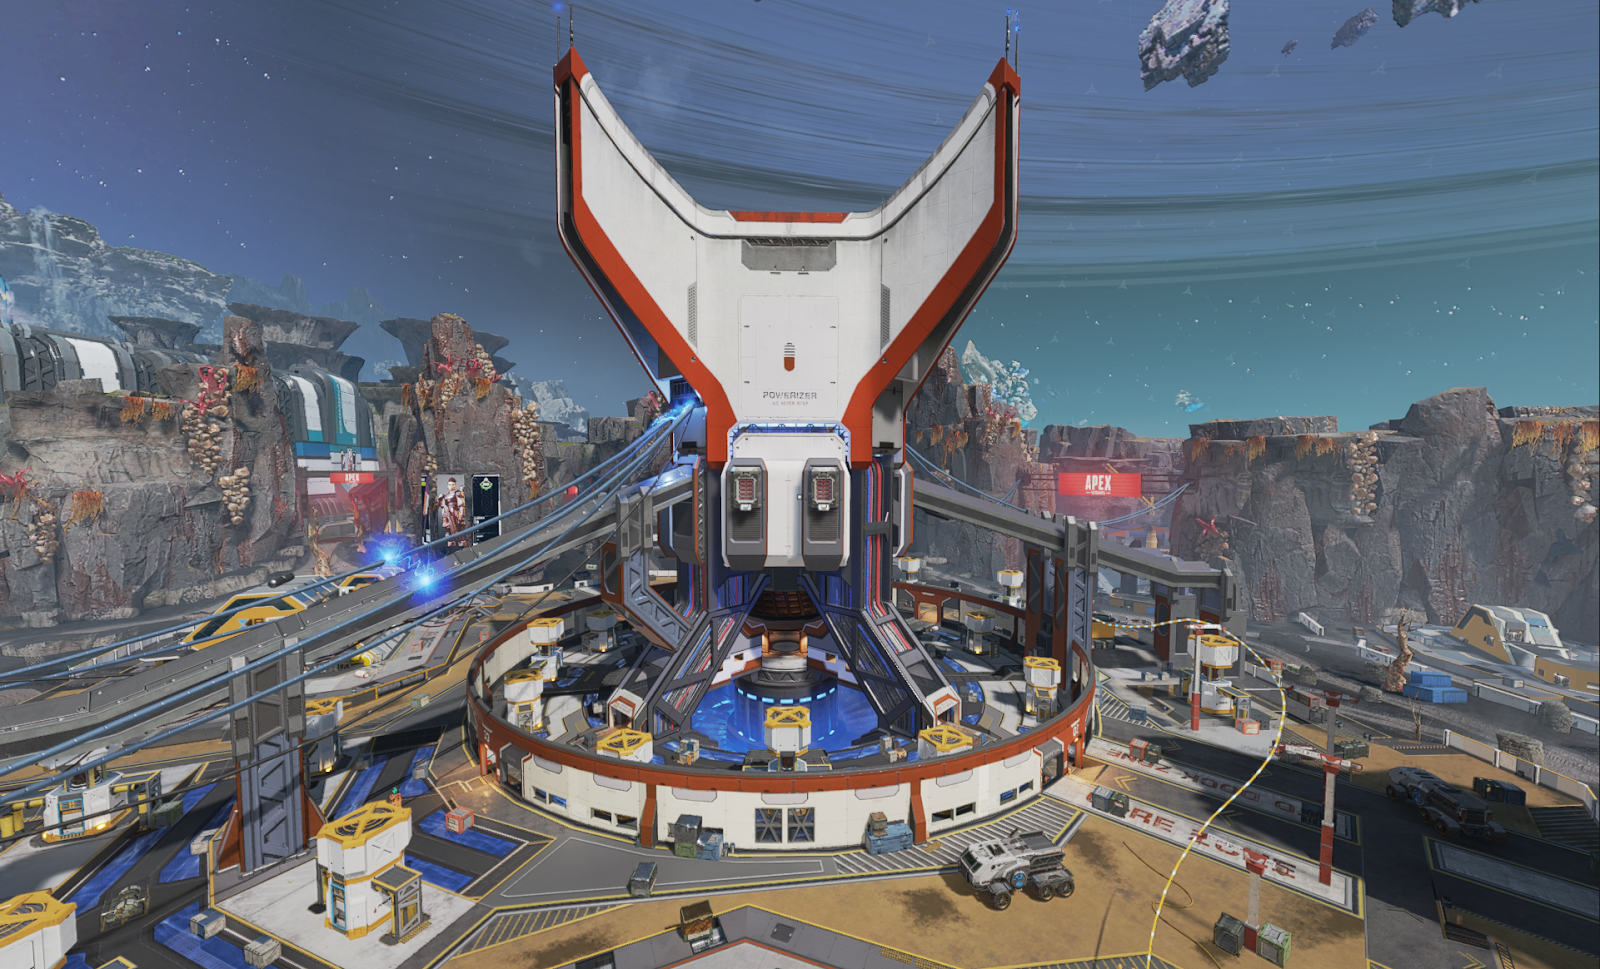
TERRAFORMER
Constructed to prevent the moon from dying, the Terraformer is a massive symmetrical structure that resides off-center of the map. It is a “king-of-the-hill” drop location with loot throughout, which supports up to 4 teams with comfortable landing spots. The central position of power can be used to effectively defend from within the walls, but there are ways to infiltrate and overthrow the team in power.
STASIS NET ARRAY
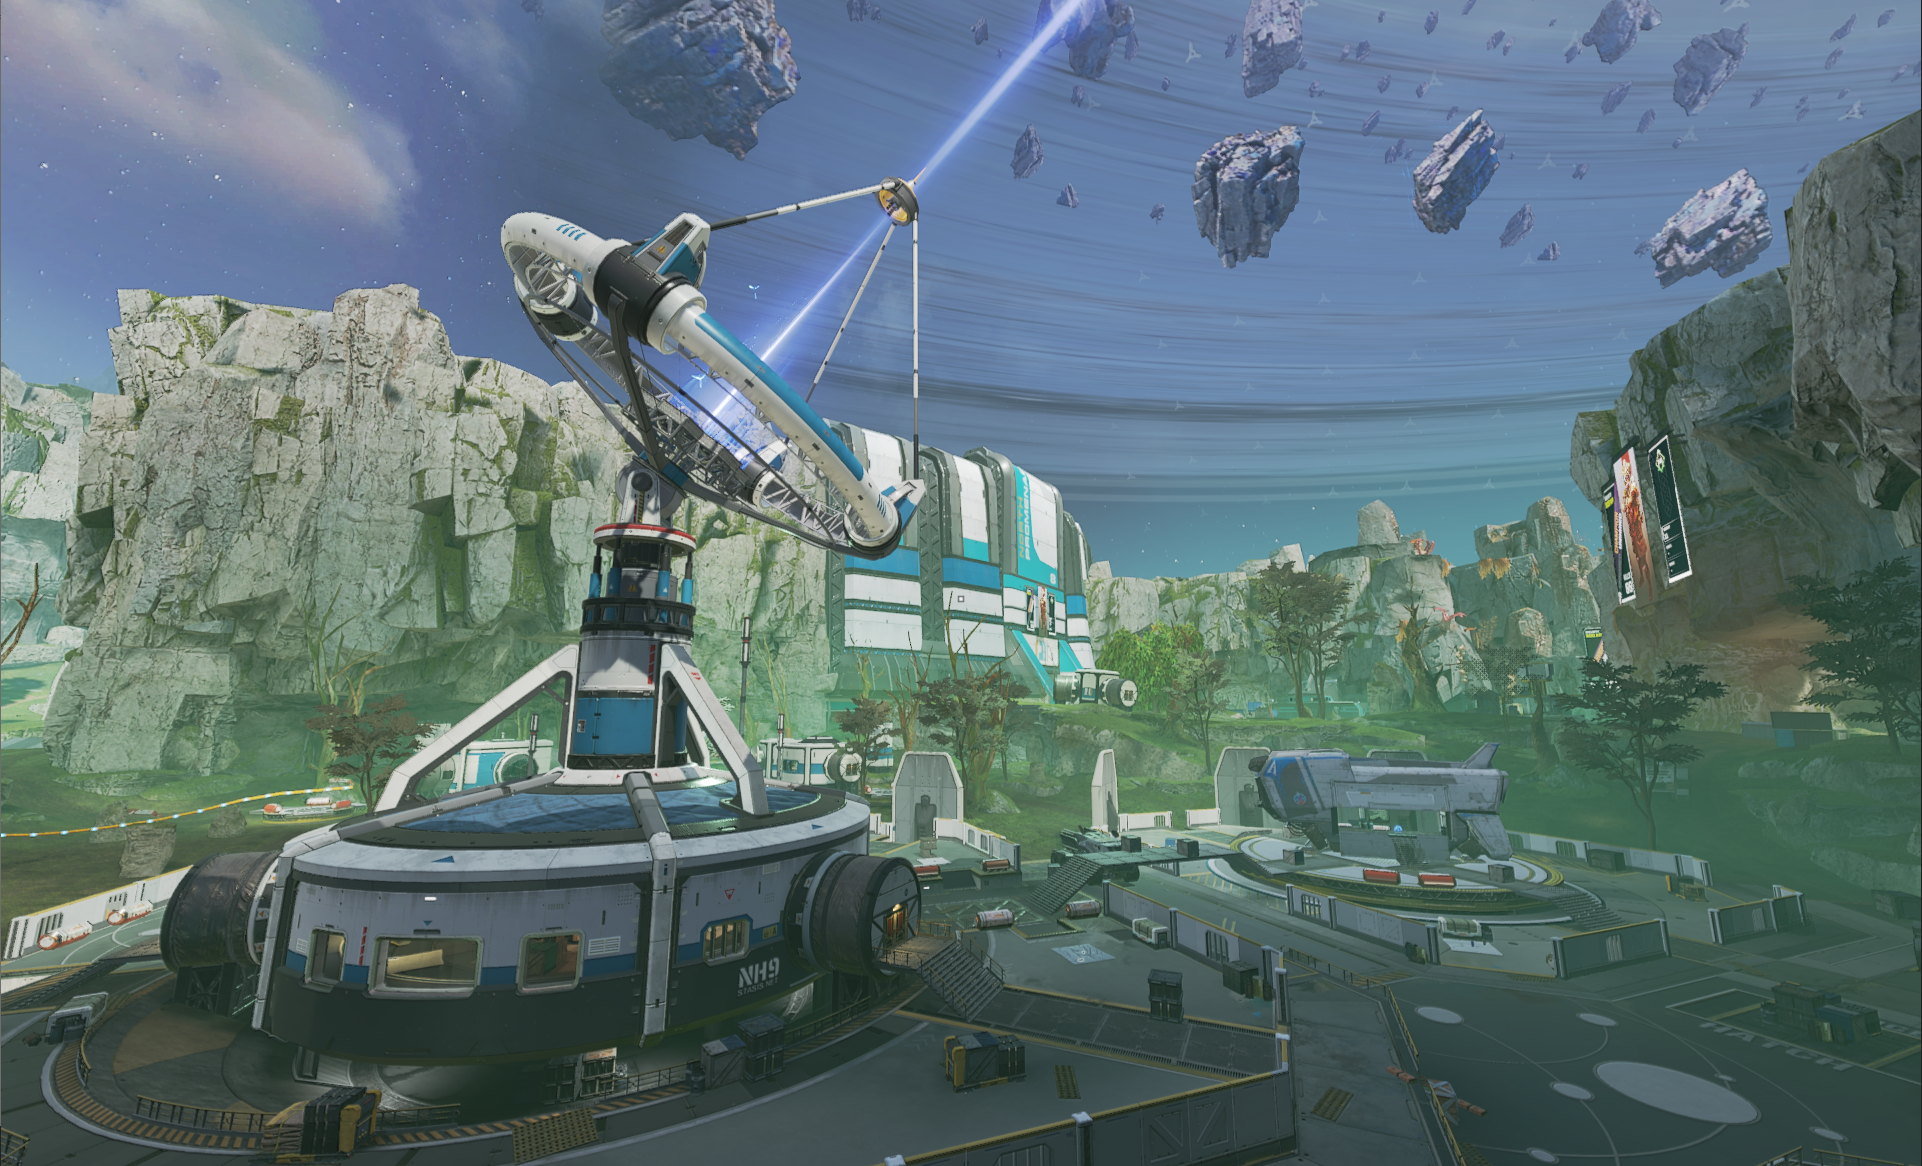
A completely asymmetrical space with a central honeypot of loot, the Stasis Net Array area provides plenty of ways to escape and flank the main structure—or retreat and move the fight. The particle beam emitting from this location is what keeps floating moon debris from crashing down into Boreas as well as the moon itself.
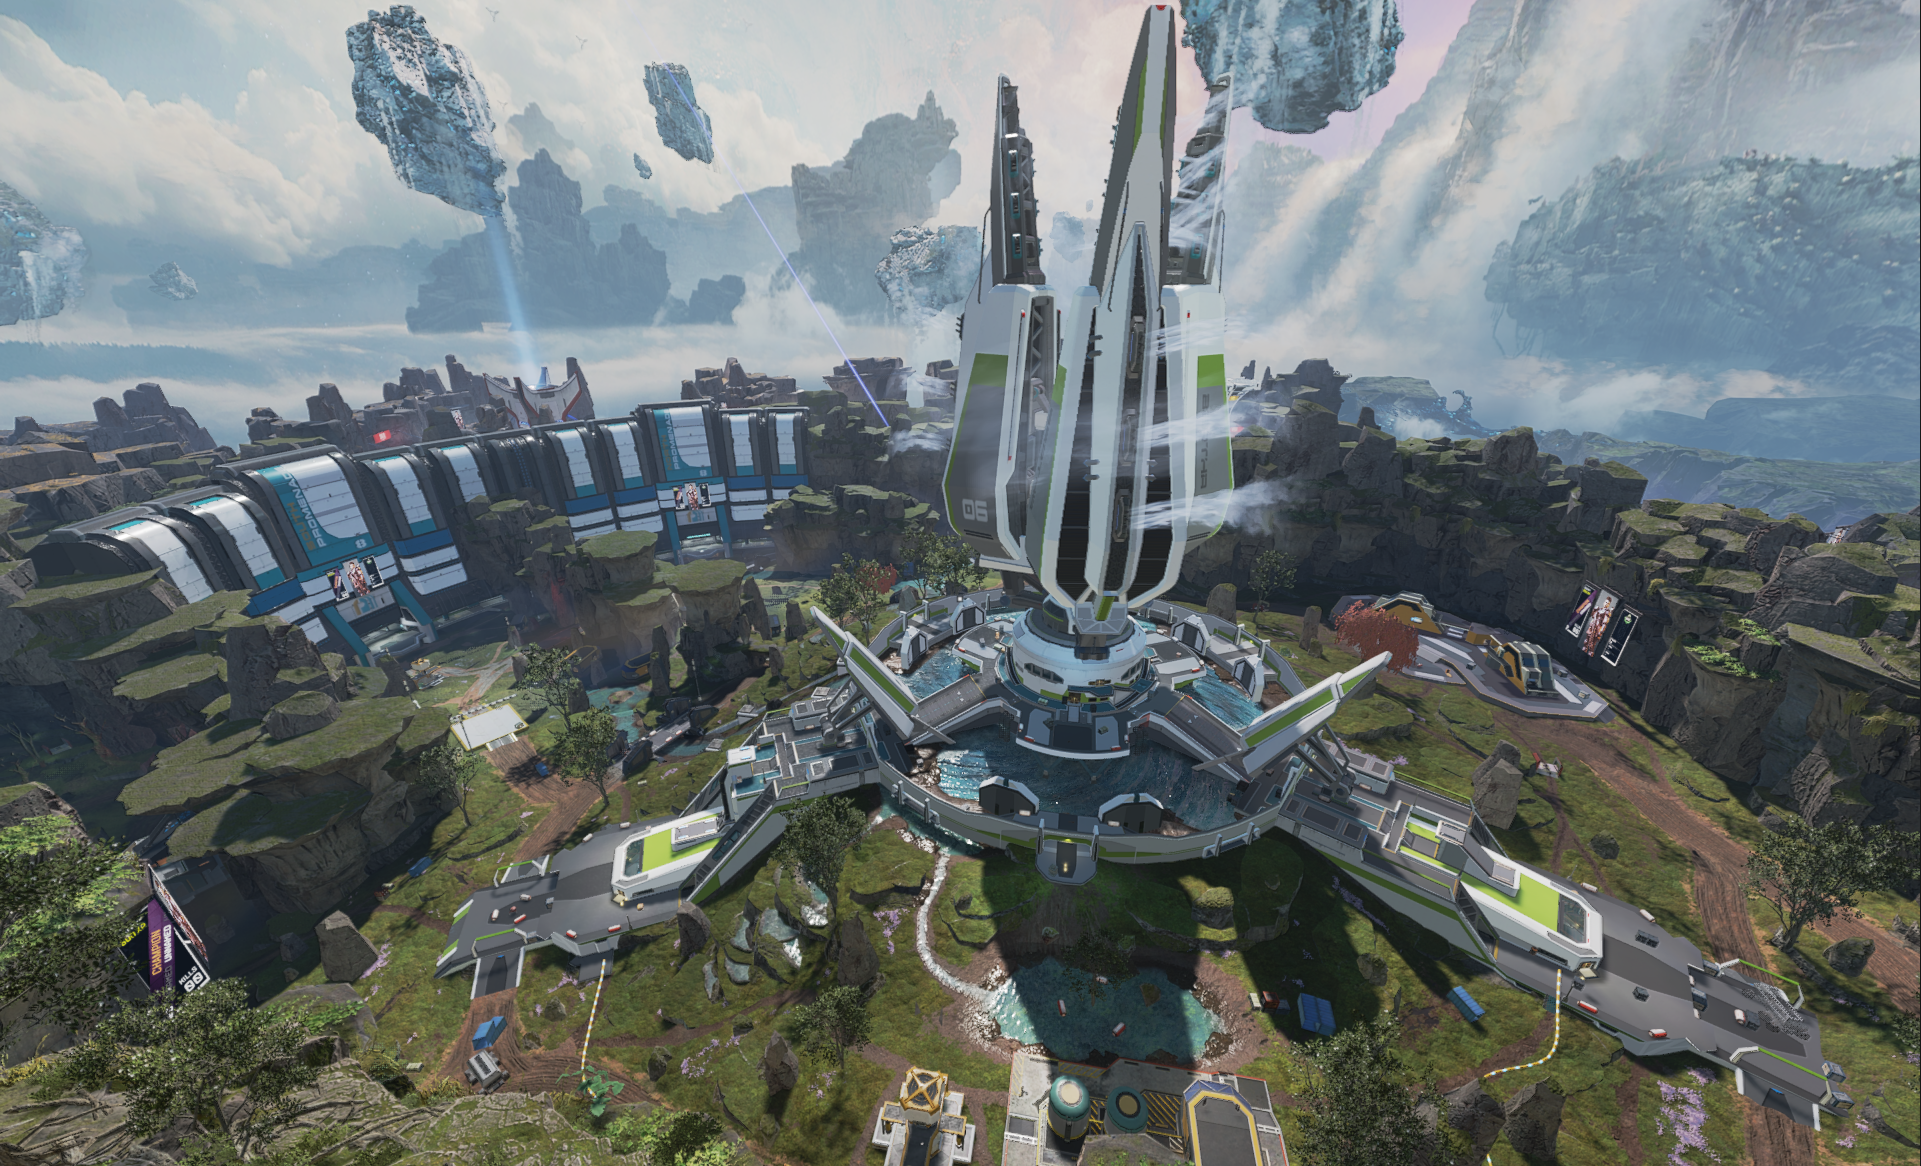
ATMOSTATION AND BACKUP ATMO

Over time, the Atmostations have created a breathable atmosphere on Cleo. Research buildings to the left and right offer landing spots for players to loot and assault the main tower structure. Pass through the narrow bridge or take the Zip Rails to the top. Nearby water silos can be a safer location, should there be too much heat elsewhere.
PERPETUAL CORE
As the sole source of power on the moon, this huge area supports big fights and multiple landings. The Core itself is the main seat of power here, but it can also easily be attacked. The uplift from the turbine below and the surrounding Zip Rails can offer unique escape strategies.
BIONOMICS
A tightly packed set of circular structures with playable rooftops, there are plenty of opportunities for vertical flanking along with sneaky healing spots in Bionomics. Originally a research facility built to study strange fauna, some experimental regrowth still populates the abandoned area.
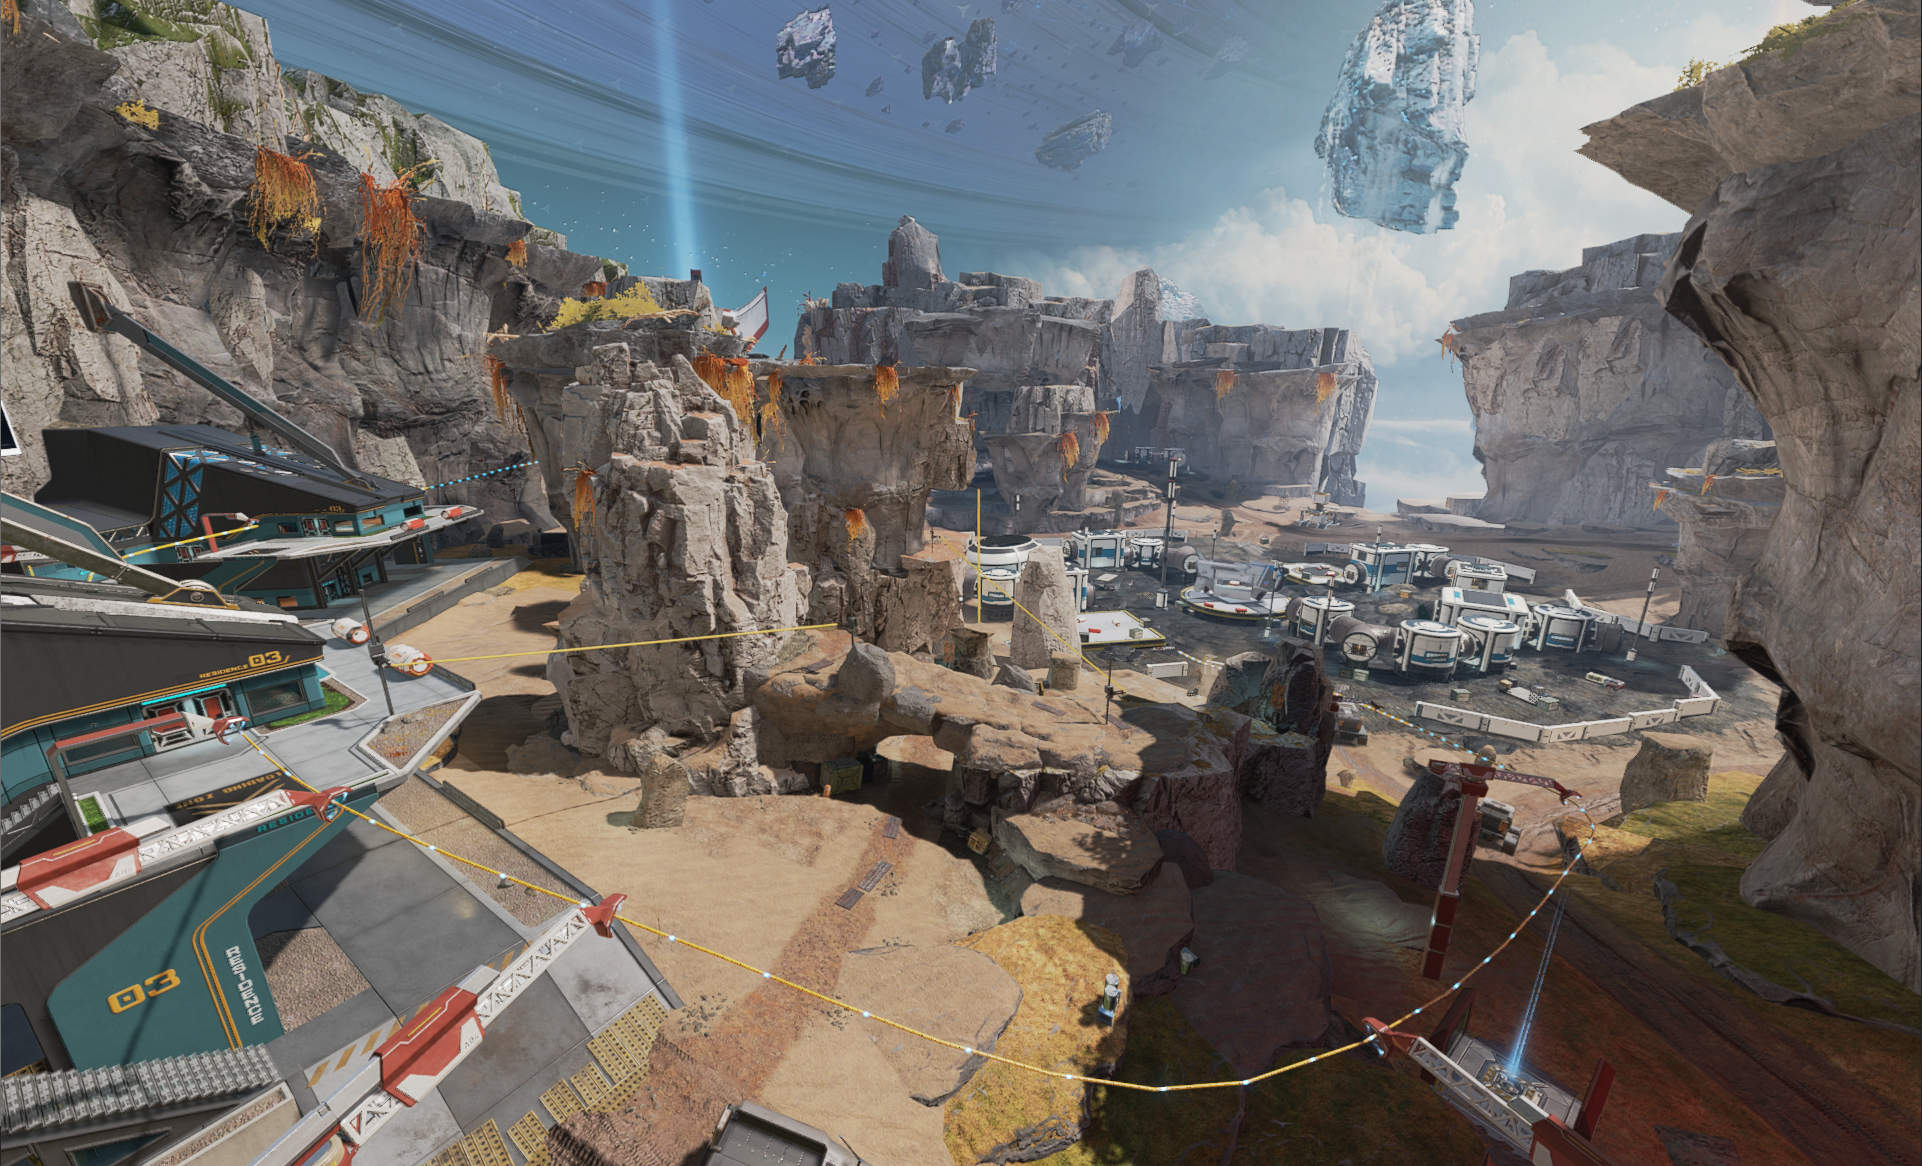
THE DIVIDE

The Divide is a clustered spot of vertical houses filled with loot, separated by bridges and connected by Zip Rails. It was one of the first towns on Cleo but was split due to continued instability on the moon. This is a fast-paced, high-energy location where skills on Zip Rails can lead to a quick victory.
ALPHA BASE
The site of the first moon landing, Alpha Base’s densely packed lunar buildings rest inside a giant moon-crater. Exterior walls keep the fights contained, and the tight interior spaces require a big commitment.
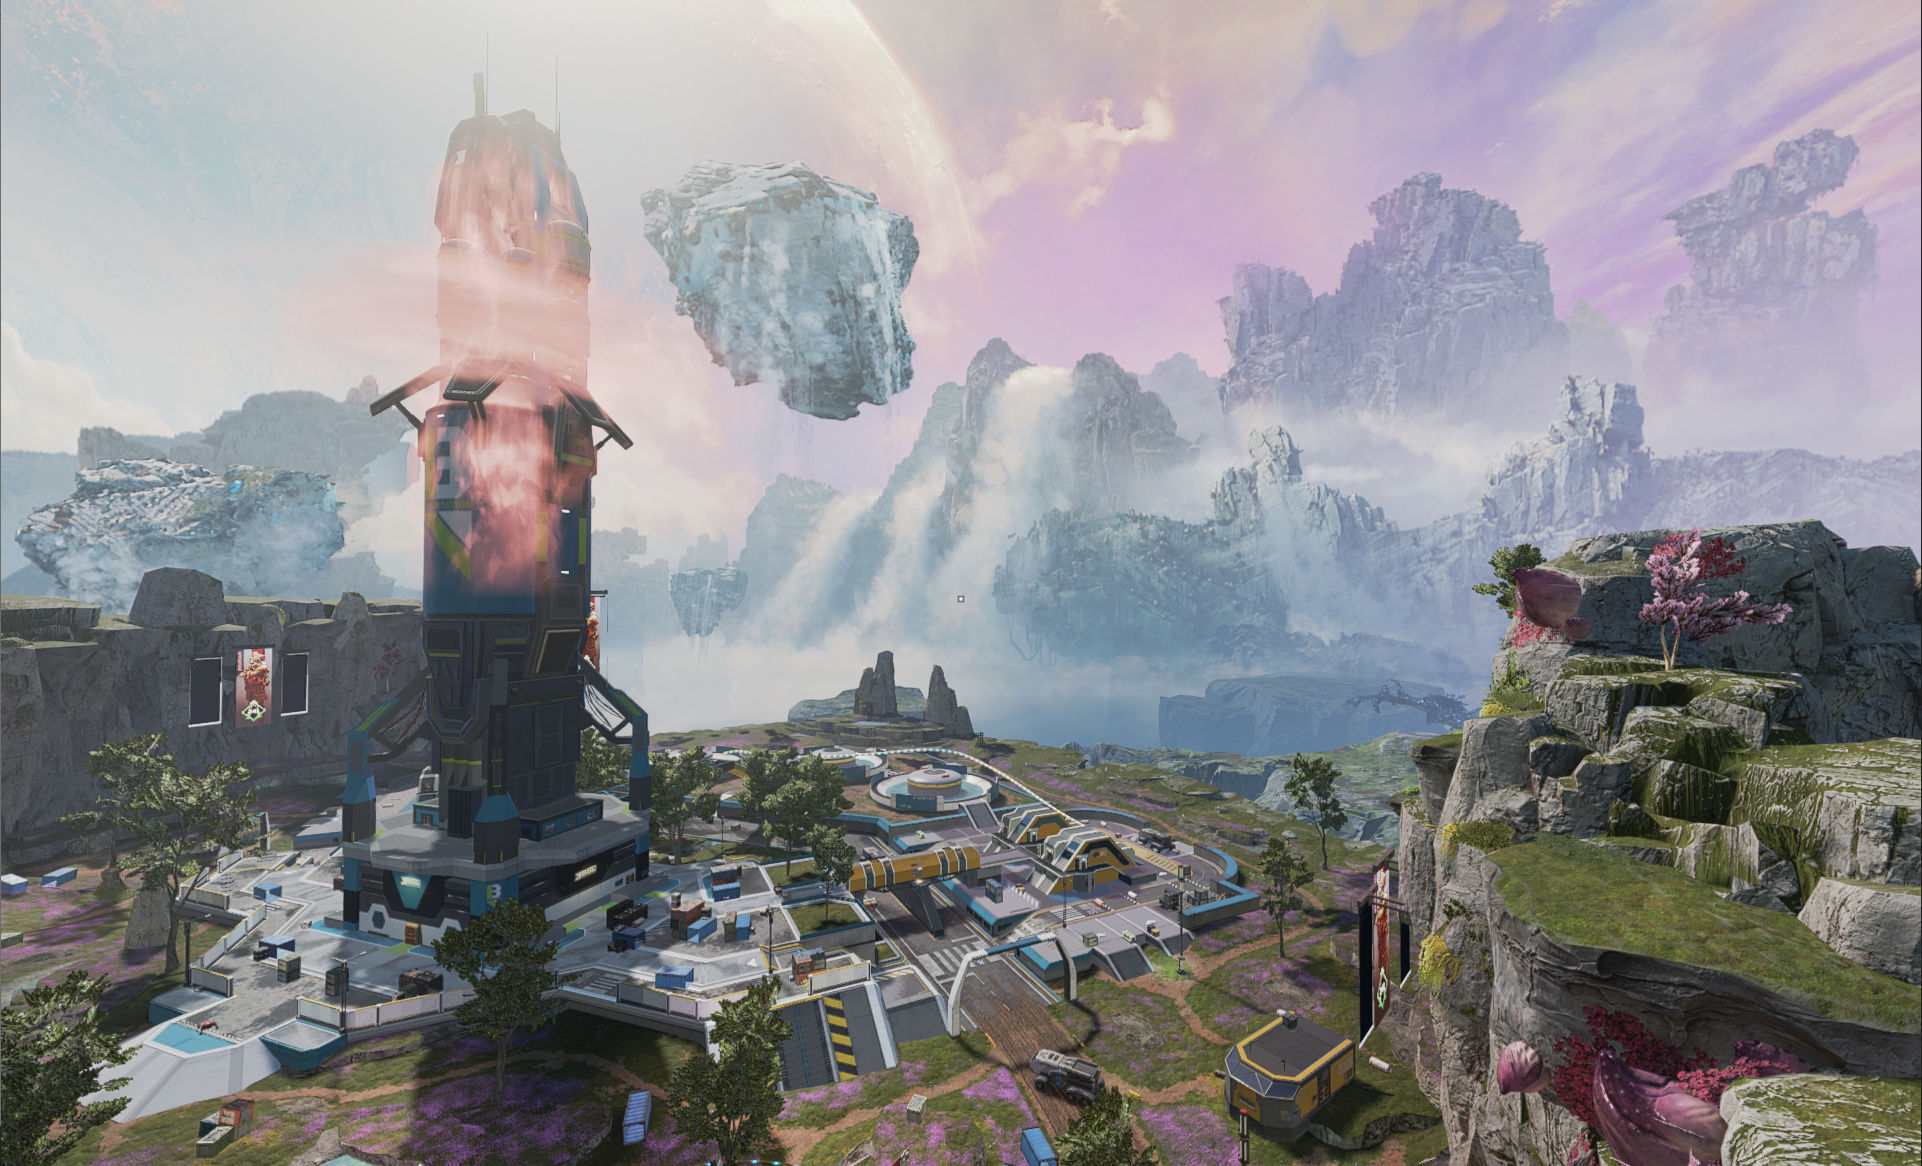
ETERNAL GARDENS

A vast open space that serves as a memorial of the tragic event on Boreas, Eternal Gardens is home to a long-range field of flowers and trenches. It has a central tower that contains the only Jump Tower on the moon. Meant as a means of celebration, it is also a crafty way to reposition for a fight or rotate to another zone.
BREAKER WHARF
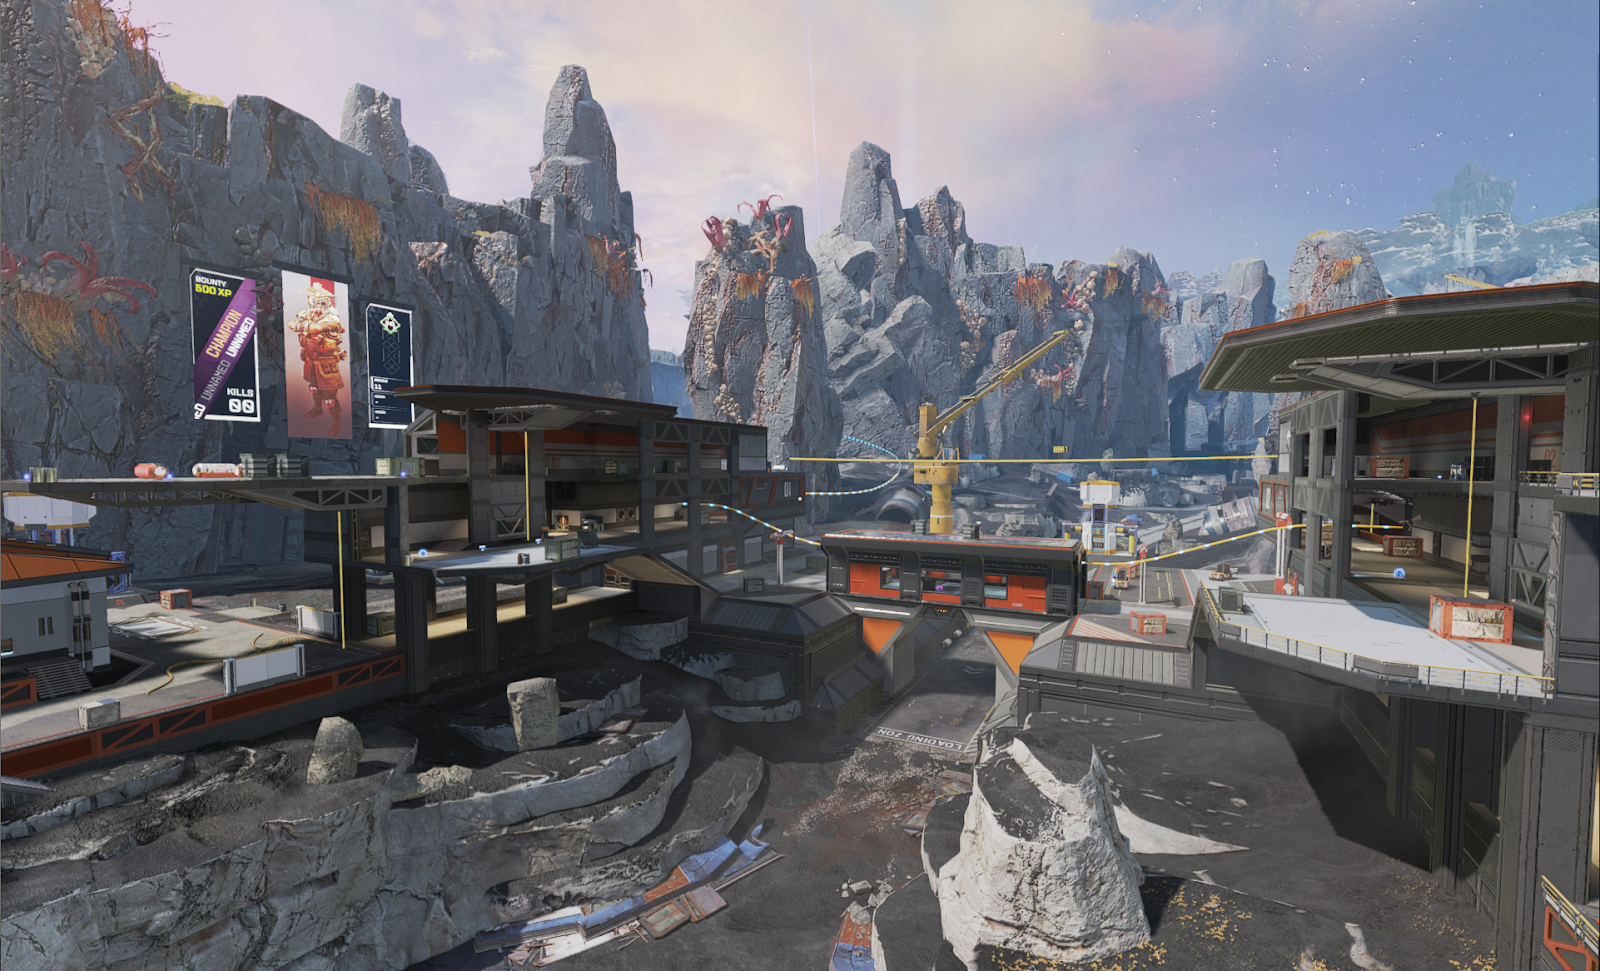
A symmetrical space built for mid-range combat and connected by a bridge and Zip Rail, the parallel structures at Breaker Wharf is packed with multiple layers of verticality and the means to reposition between them. Flanked by additional Zip Rails, it’s also an easy way to rotate to another POI.
PRODUCTION YARD
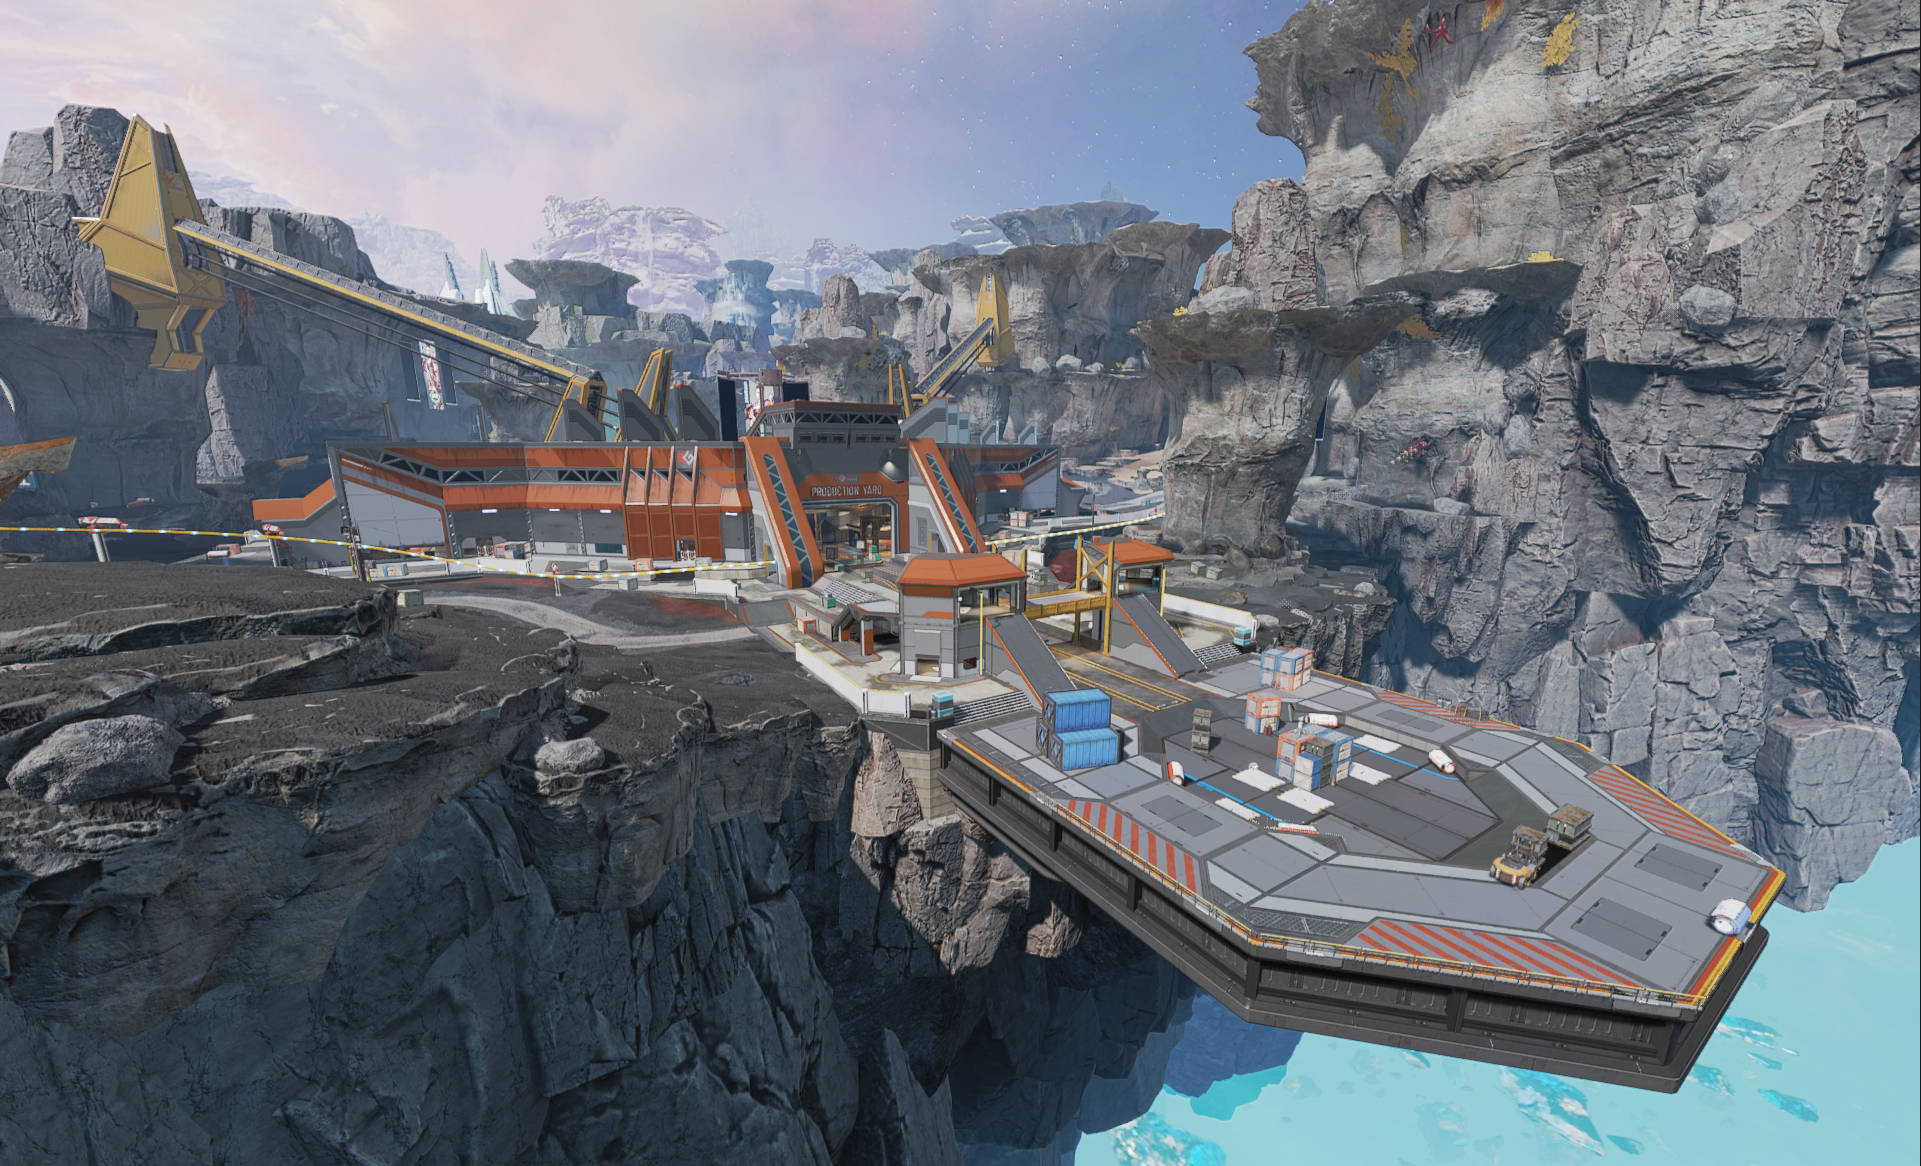
Production Yard is another large location on the map, with a bullseye landing pad and two adjacent landings on the extent of this T-shaped structure. There is lots of loot nestled within the corridors here with a central honeypot to fight over.
THE FOUNDRY
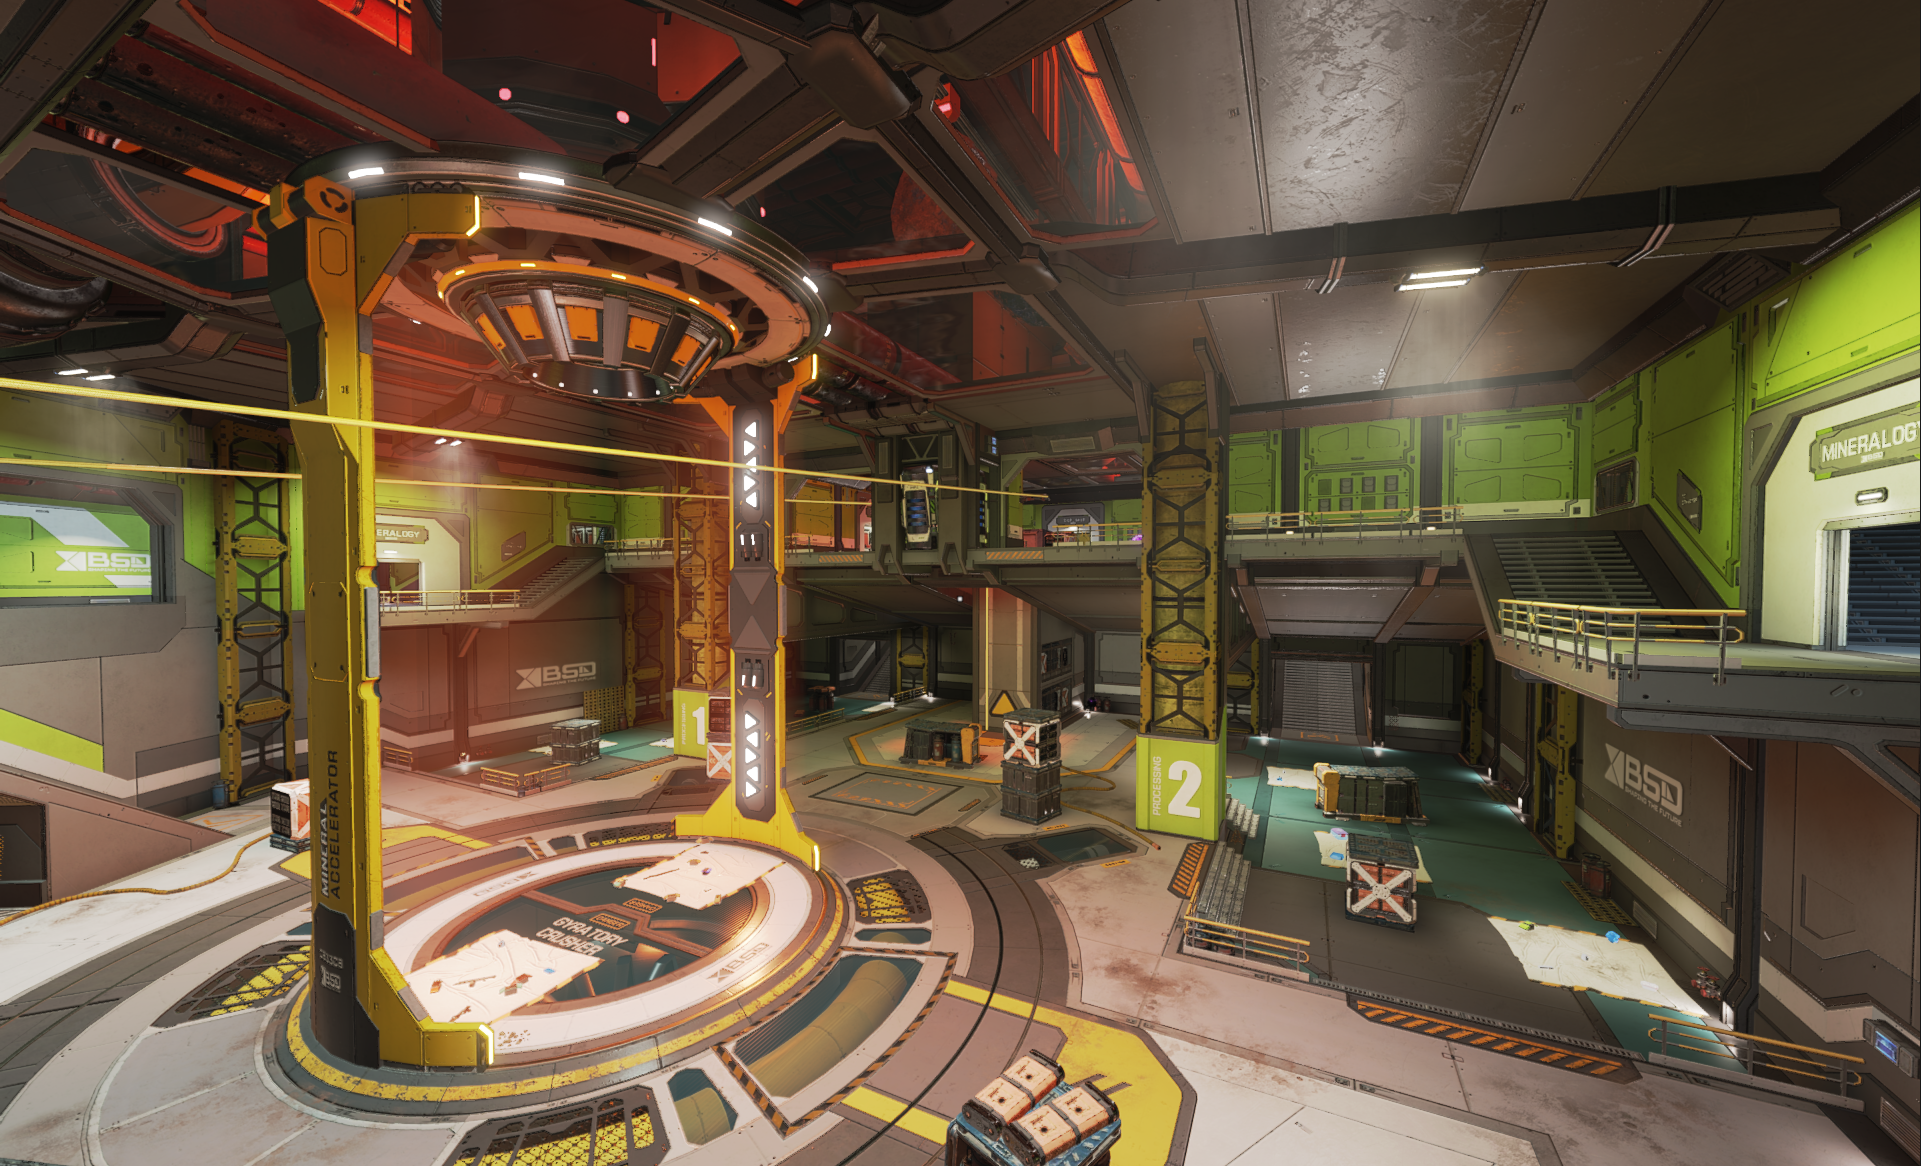
This large POI features a divided central hub, split by two long arms filled with loot and enough landing spots for 4 teams. The integrated Zip Rails at the Foundry allow players to quickly travel across to the main hub or to reposition for a fight. This is where ferrofluid is refined and used to patch parts of the moon to avoid further deterioration.
DRY GULCH

This entirely asymmetrical location is divided by a short bridge, which also acts as a funnel for rotation between the two halves of Dry Gulch. The gulch features fast, multilayered fights with tightly packed interior spaces
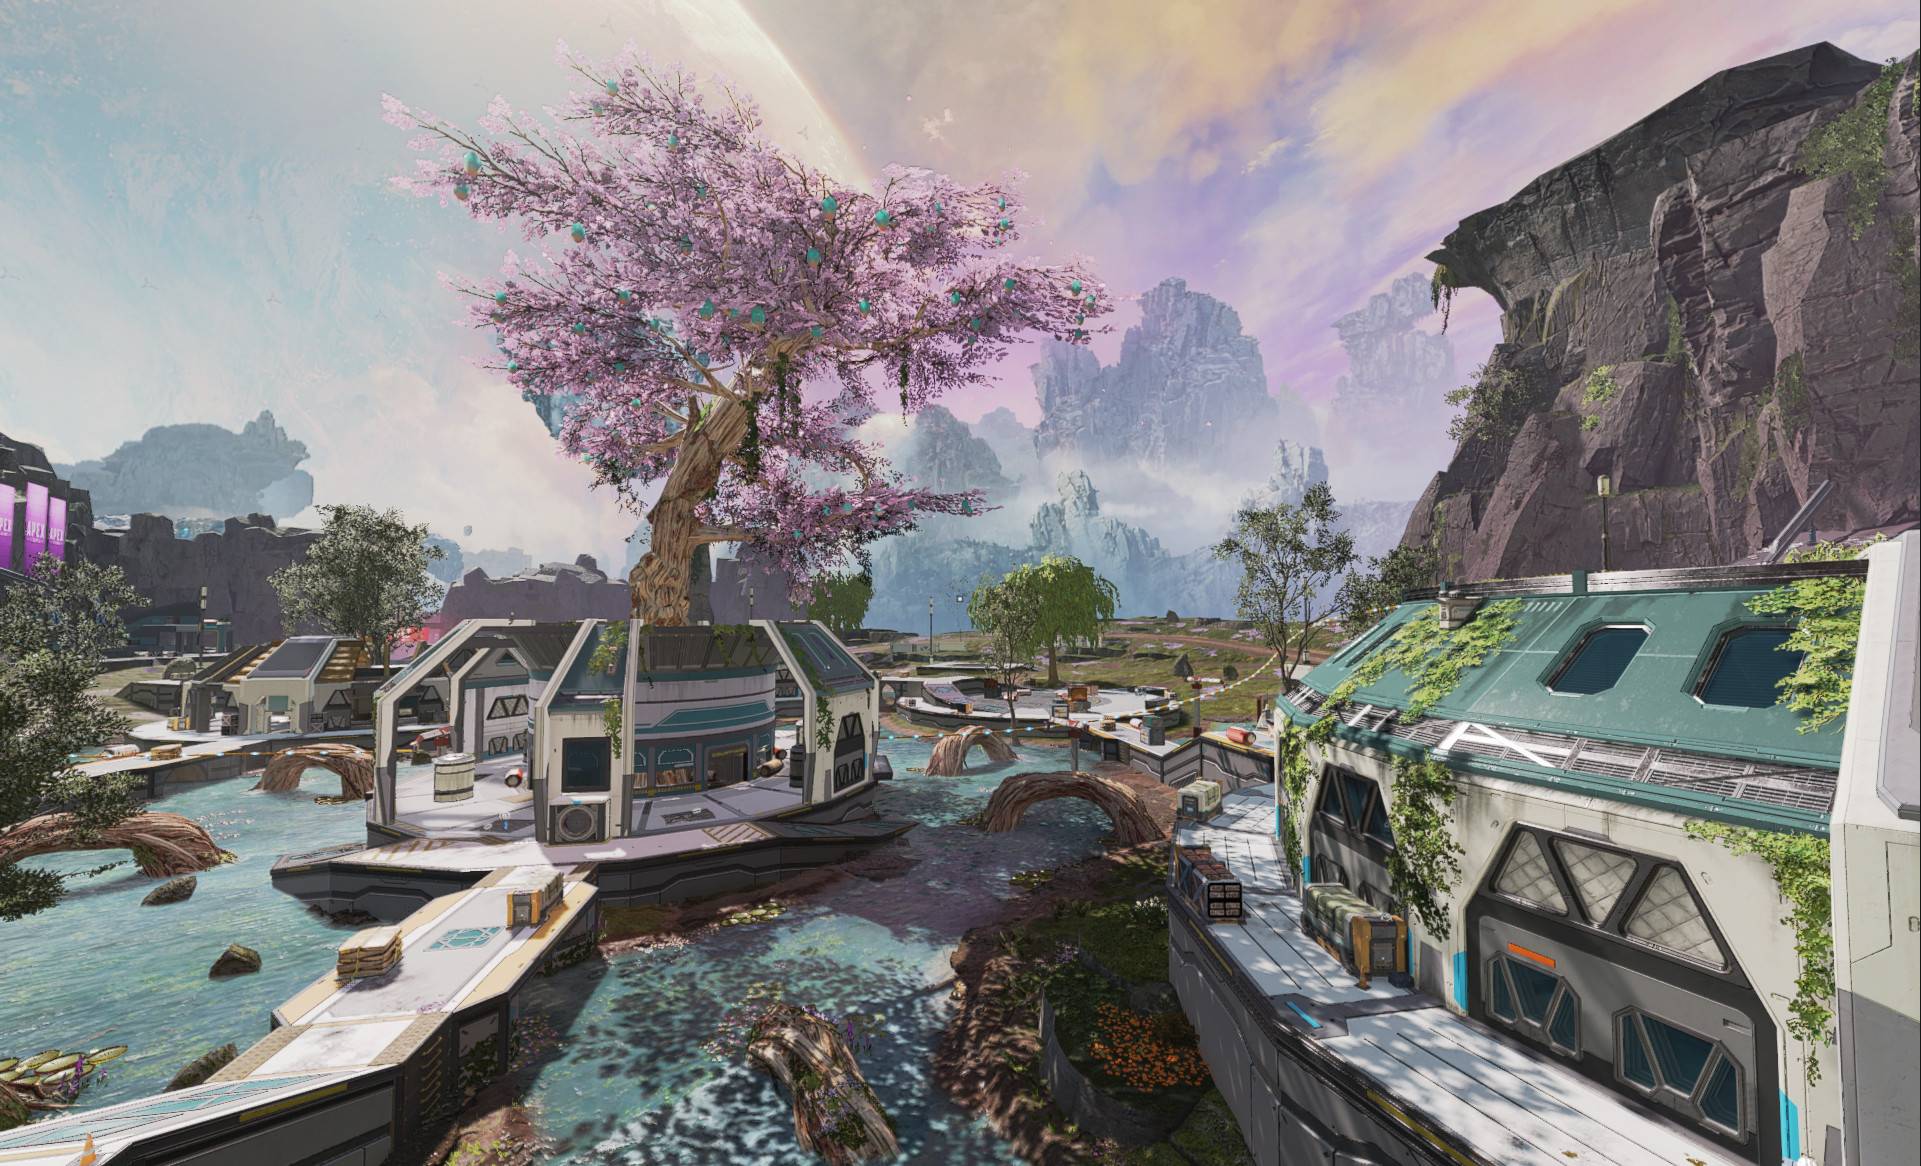
CULTIVATION

The source for all moon food, Cultivation is made up of a low-lying collection of circular greenhouses that connects to a large central greenhouse: the seat of power in this location. Easily defendable on all sides, the waterways cutting through this zone offer sneaky routes to loot up and assault the main structure undetected.
PROMENADES

The Promenades is the place where most moon dwellers reside and get their supplies. This huge vertically visible landmark is a focused hallway fight with Zip Rails throughout. Flank routes pocket the interior space, while the exterior is the main central funnel between the north and south of the map.
CUTTING IT CLOSE
The team is incredibly proud of the work that has gone into making Broken Moon as magical as it is. For the first time in Apex Legends, you’ll be soaring through the map at high speeds, banking around corners, and building up momentum as you feel the rush of the Zip Rails. Cut it close like never before—whether it’s to find the next fight, escape a closing ring, or speedily scoop up more loot. I’m excited to share all of our hard work with all of you!